Misfortune generally leads to premature improvement…
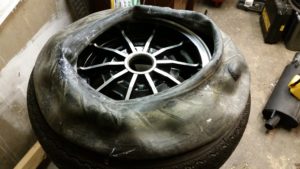 Driving the car to work last week it was a lovely warm day so I had the windows open and my enjoyment was broken by a pronounced ‘PSSSSS’ noise from outside the car. Not sure if it was mine or someone else’s, I carried on gently with no untoward effects, parked up at work and had a quick walk round the car – nothing untoward. Later when passing the car I spotted the OSF tyre looking somewhat soft and pumped it up just before driving home. Again, nothing untoward on the way home, but the next day the tyre was soft again so I investigated.
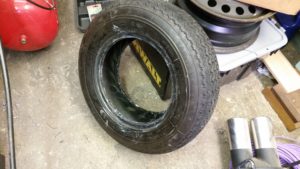 Air was leaking out pretty much everywhere, around both beads and the valve. Ugh, I thought. It was then that I looked at the tyres to realise they were tubed and started reading up about how to change car tyres with innertubes – there’s not much online to help, so armed with the recollection that tyres are removed from the inside of the Lotus rims, I set about stripping the wheel down.
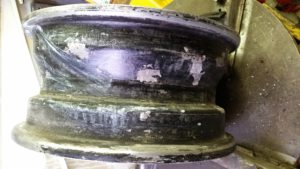
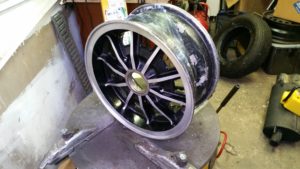 First thing to notice was that there are no safety ridges on the Lotus rims to retain the tyre beads, so once the air is gone, they can (and do!) move about a bit. The bead breaker on my tyre machine wasn’t really needed, so it went onto the turntable, gripped face down from the outside edges, so as not to mark the most visible face of the wheel. The tyre wasn’t easy to remove on account of it being a very tight fit, but with lots of tyre soap, the inner bead came off the rim and I retrieved the innertube. A quick inspection in the sink showed one hole in the tread area, which matched with a very very small piece of metal pulled out of the tyre tread.
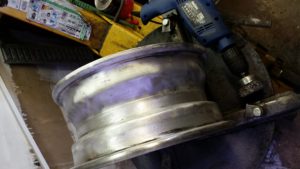 The inside of the wheel was painted, but the paint was flaking badly and the innertube had a number of flakes stuck well to it; bad news as they would probably later cause punctures, so I decided to seize the opportunity and remove the tyre altogether and refurbish the unseen area of the rim.
 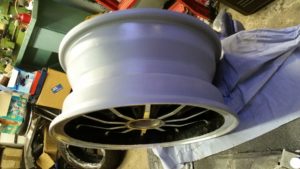 Wire brush to start, then about an hour with a rotary wire brush, followed by the best part of an hour with abrasive paper to clean up the bits I couldn’t get to with the brushes.
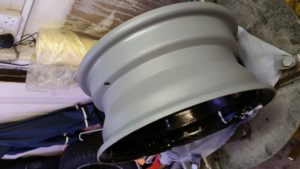 A quick coat of etch primer to give some anti-corrosion protection was first, then two coats of gloss black paint will follow, sprayed up to the edge of the rim where it will be visible with the tyre mounted again. That little lot was left in the sun (gassing our conservatory out!) for a couple of days to be sure the solvents had gone.
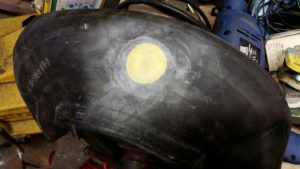 The innertube was fixed with a motorcycle tyre puncture repair patch and left to await reassembly when my tyre talc arrives – the aim of that being to lubricate the tube within the tyre and prevent it from becoming stuck to either the casing or the rim.
Once painted, reassembly would be interesting, as the tyre machine needs to grip the wheel rim tightly, but will have to do so via the newly painted outside edge of the rim… I’ll work that one out later – cardboard ‘fenders’?
More later…
![[Abs-Zero]](http://www.abs-zero.com/wordpress/wp-content/uploads/2013/11/abs-zero.jpg)