![[Abs-Zero]](http://www.abs-zero.com/wordpress/wp-content/uploads/2013/11/abs-zero.jpg)
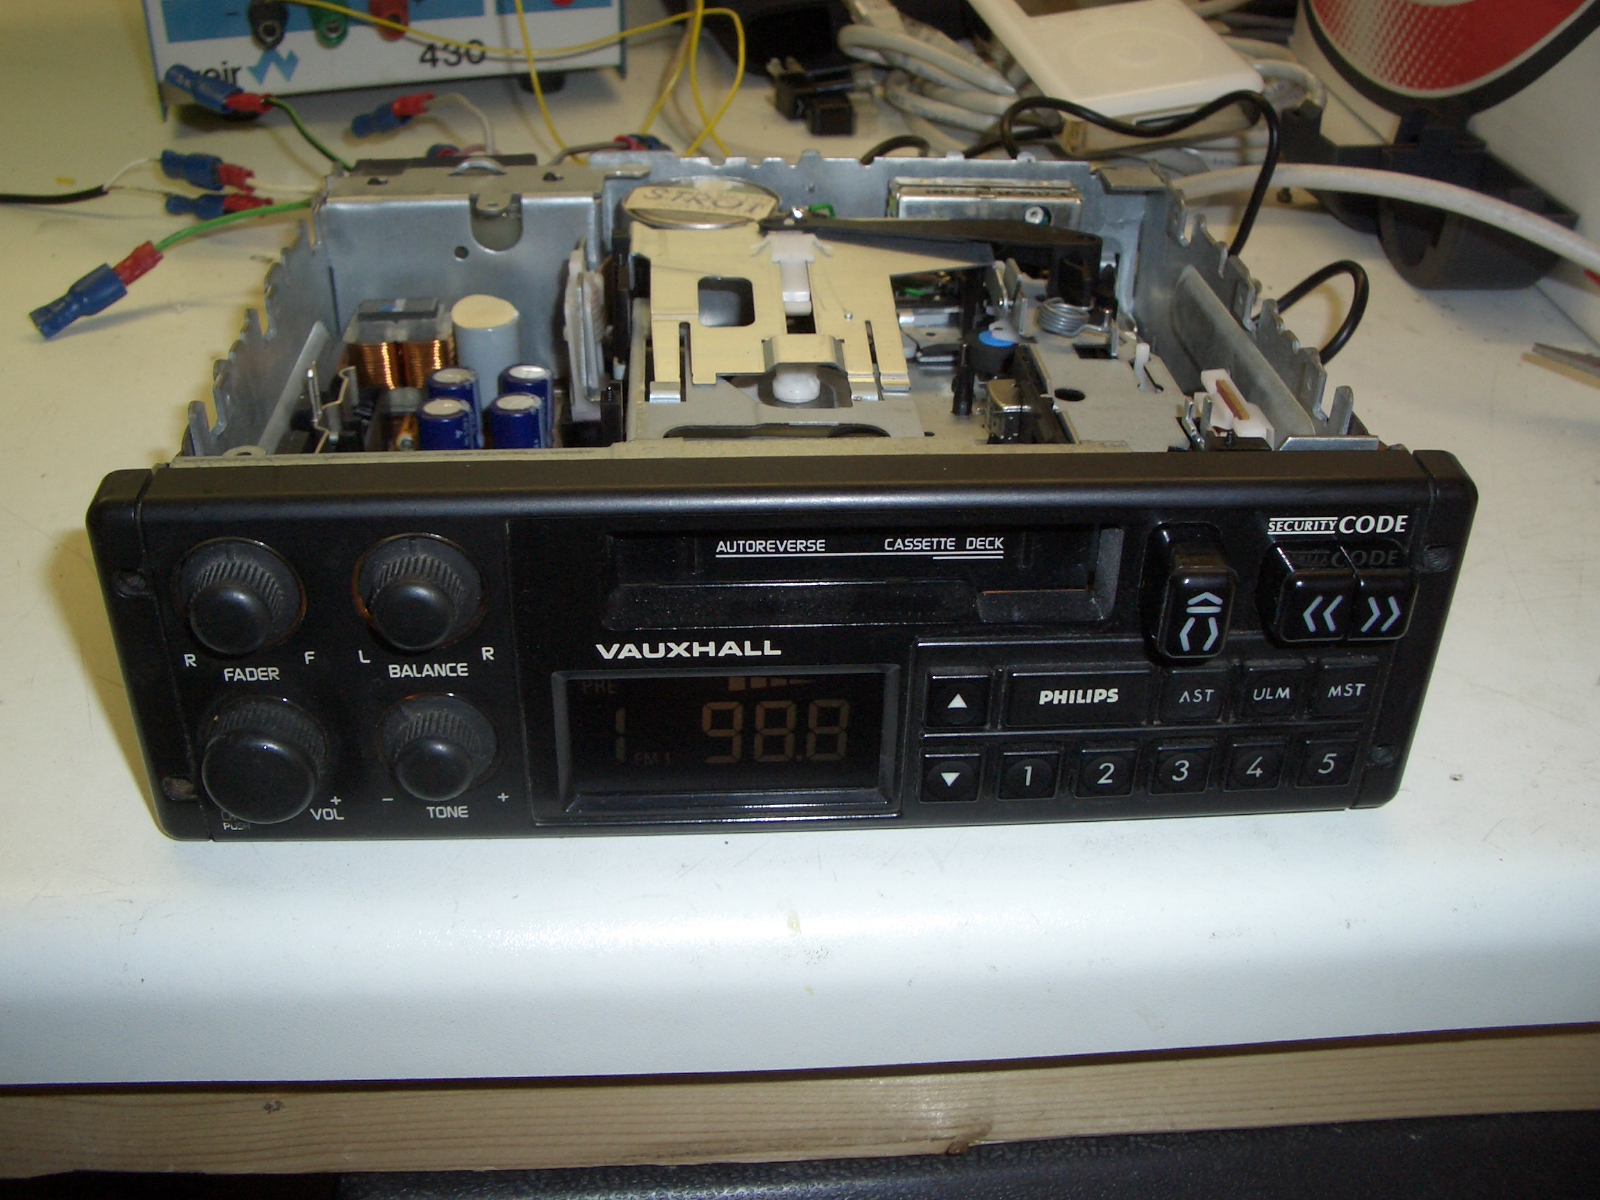
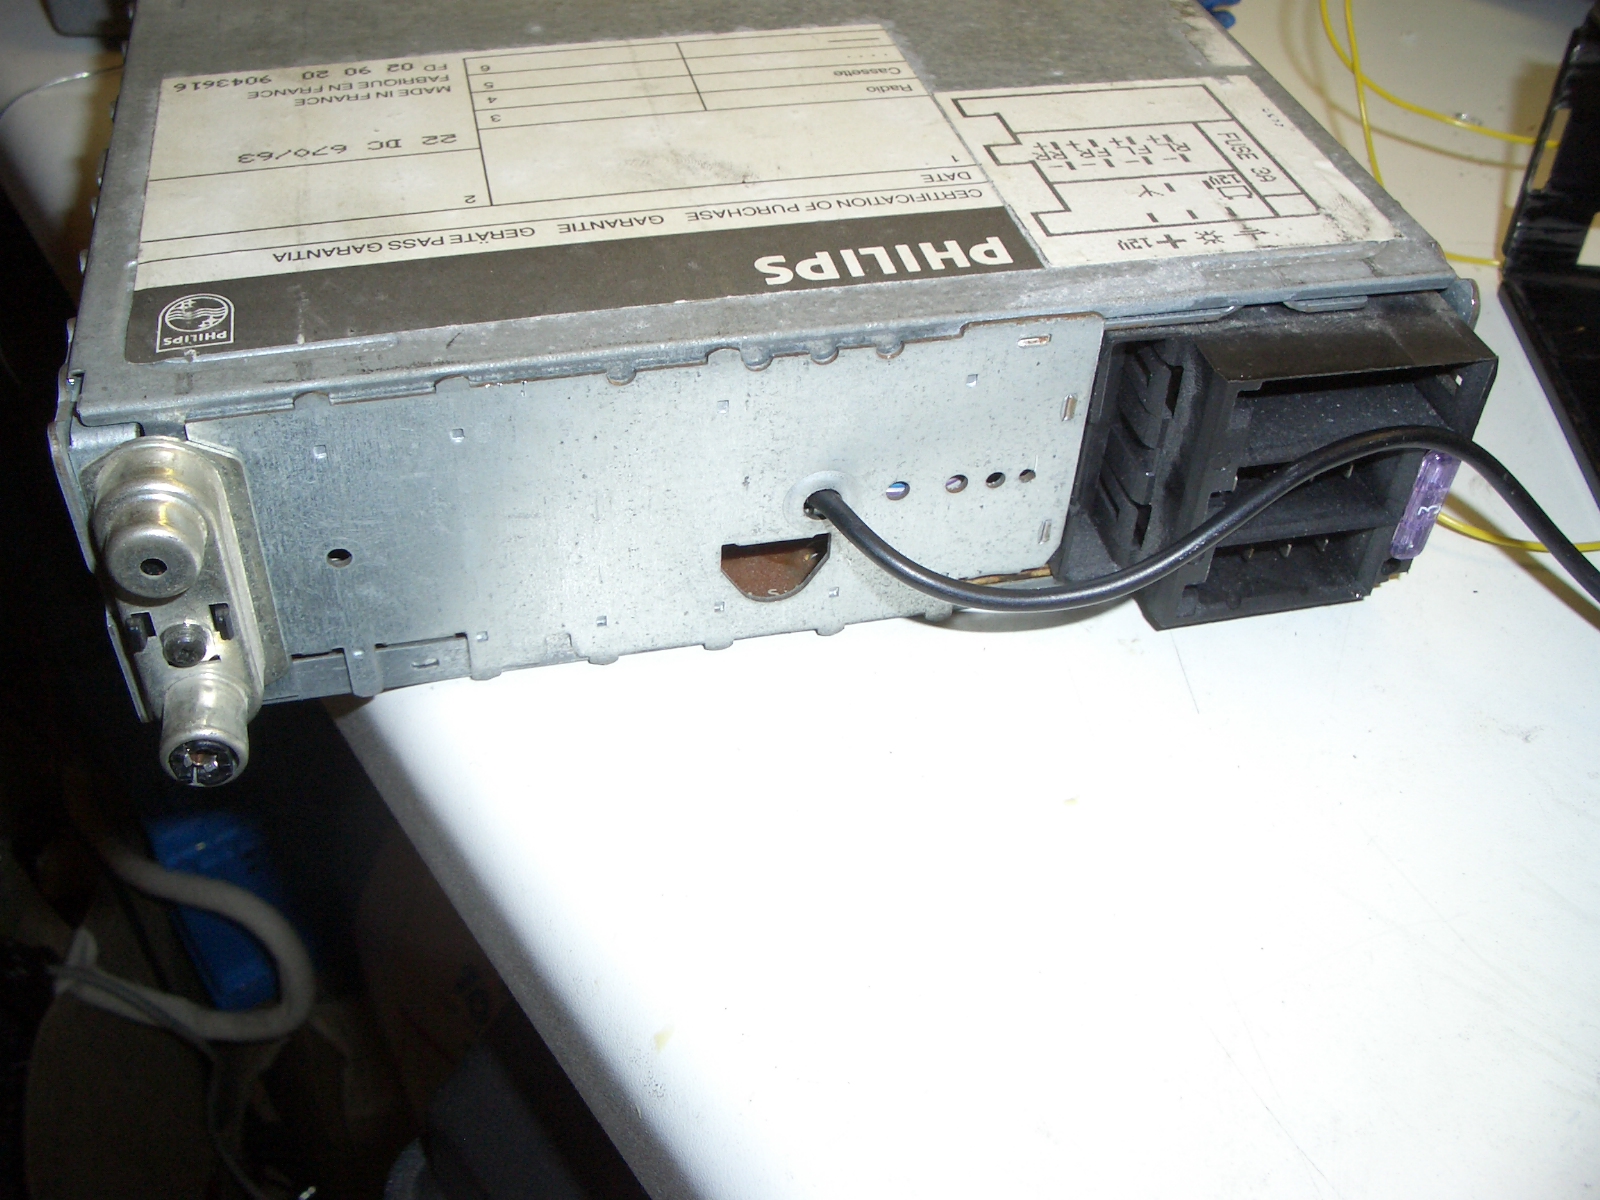
My Mk2 Astra would as standard have been fitted with a Philips radio / cassette player when it was new. Whilst it’s nothing special, it’s in keeping with the other plastics and looks ‘right’ in the dash. While I love playing with the latest technology and won’t argue that it’s not significantly better in terms of quality and performance, the retro feel is what I wanted.
I suspect that I’m in a massive majority these days in that I probably own a carrier bag full of cassettes, which have lived in the loft for the last decade, so the cassette player isn’t realistically going to see any action; this guide shows how to give it a new lease of life by adding an auxiliary input to connect a MP3 music player.
Of course this is very specific to this particular radio, so I’ve summarised the generic steps for anyone wanting to do this to a different radio:
- Open the radio (remove top and bottom covers).
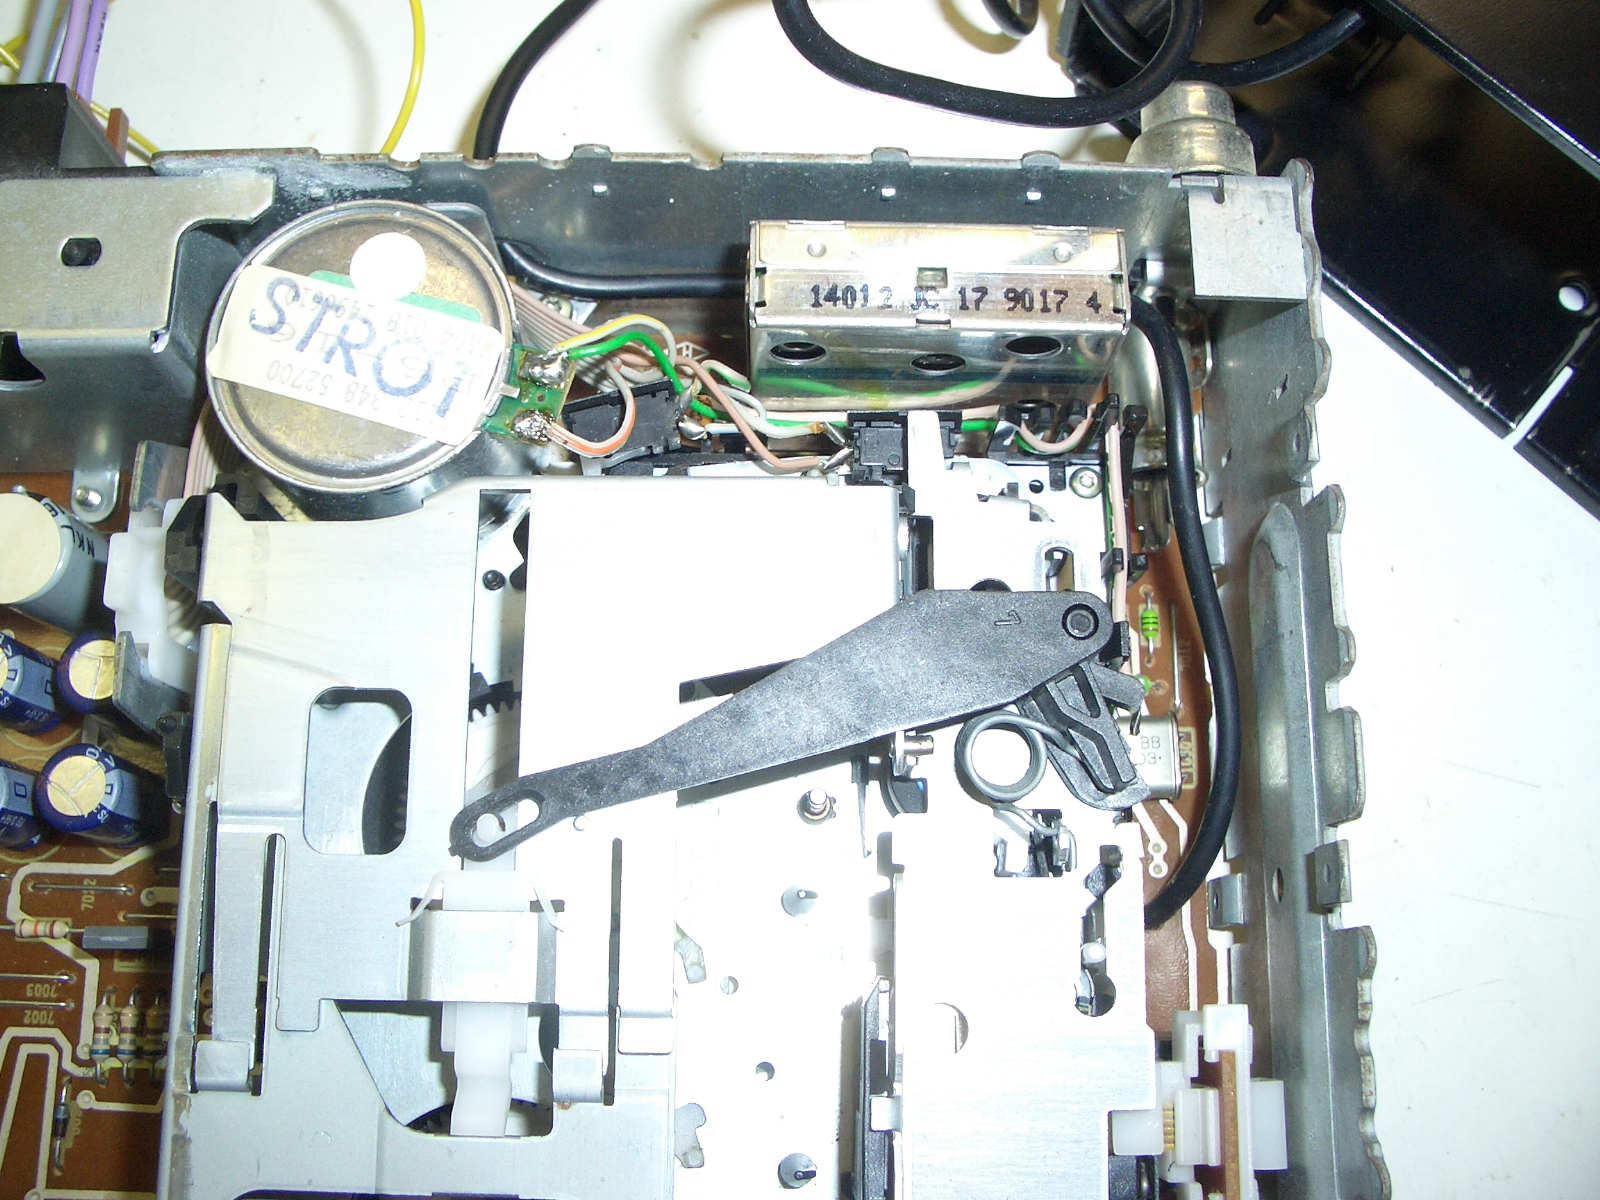
- Remove screws that retain the cassette player mechanism, unplug the cable(s) and remove the mechanism.
- Use Google (search) to find datasheets for the Integrated Circuits (ICs, or ‘chips’) on the main circuit board. There will be several, and particularly on older radios, there will be up to 5 ICs that just support the radio itself, probably only one that is for the cassette function.
- Once you have identified which IC is for the cassette player, get its datasheet and look at the pinout, find the two (left and right) output pins.
- In general, the IC will probably tolerate another input being connected across its output, but if you’re keen you can remove the IC from the board.
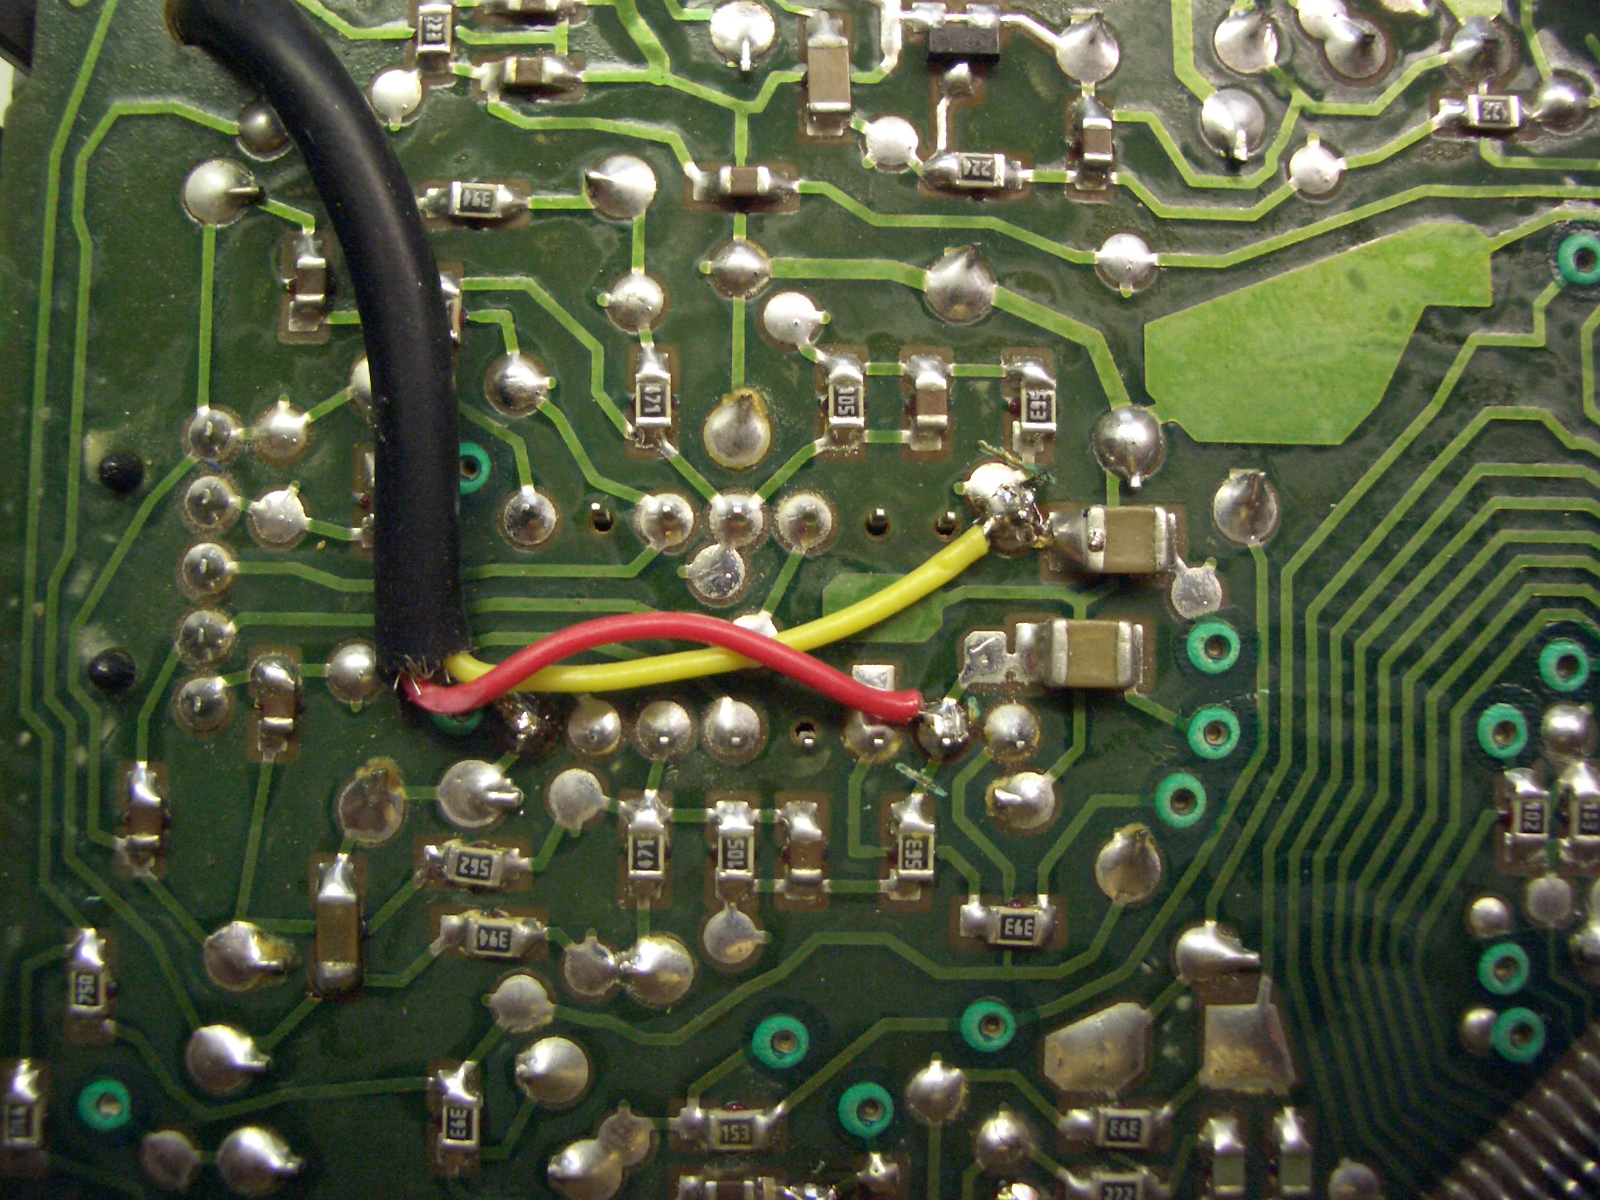
- Take a twin+screen cable and solder the two cores to the output pin positions you identified earlier and the screen to the ground return pin, the other end of this cable will be fitted with a 3.5mm stereo jack plug to connect to your MP3 player.
- Refit the cassette player mechanism, routing the new input cable clear of the mechanism and drive belt and out of the back of the unit.
- Connect the radio back up to a power supply, speakers and your MP3 player. See if it works. You will need to put a cassette into the player (and play it) for the input to switch over.
If you removed the IC earlier, the cassette can have any music or programme on it that you like, as it won’t be transferred to the speakers, otherwise the cassette will have to be blank.
Here are the specific notes and photos of the mod, applied to a Philips DC670 / DC673.
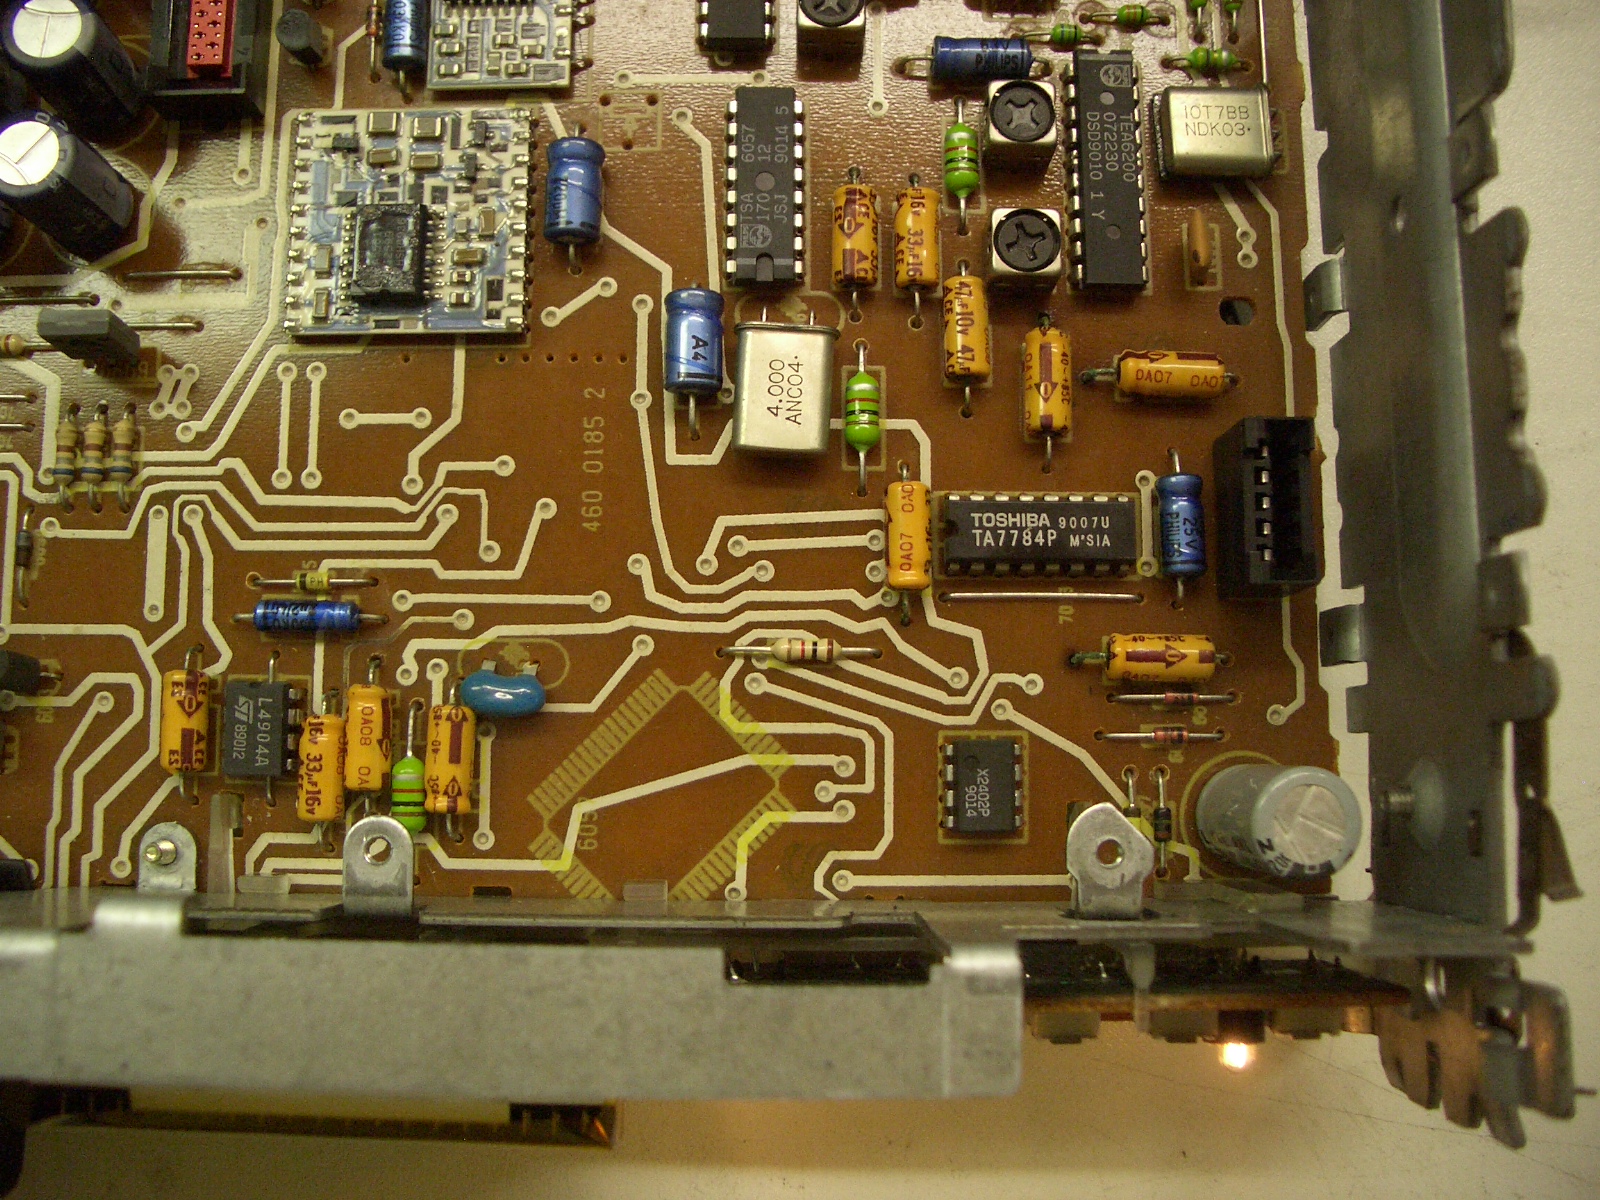
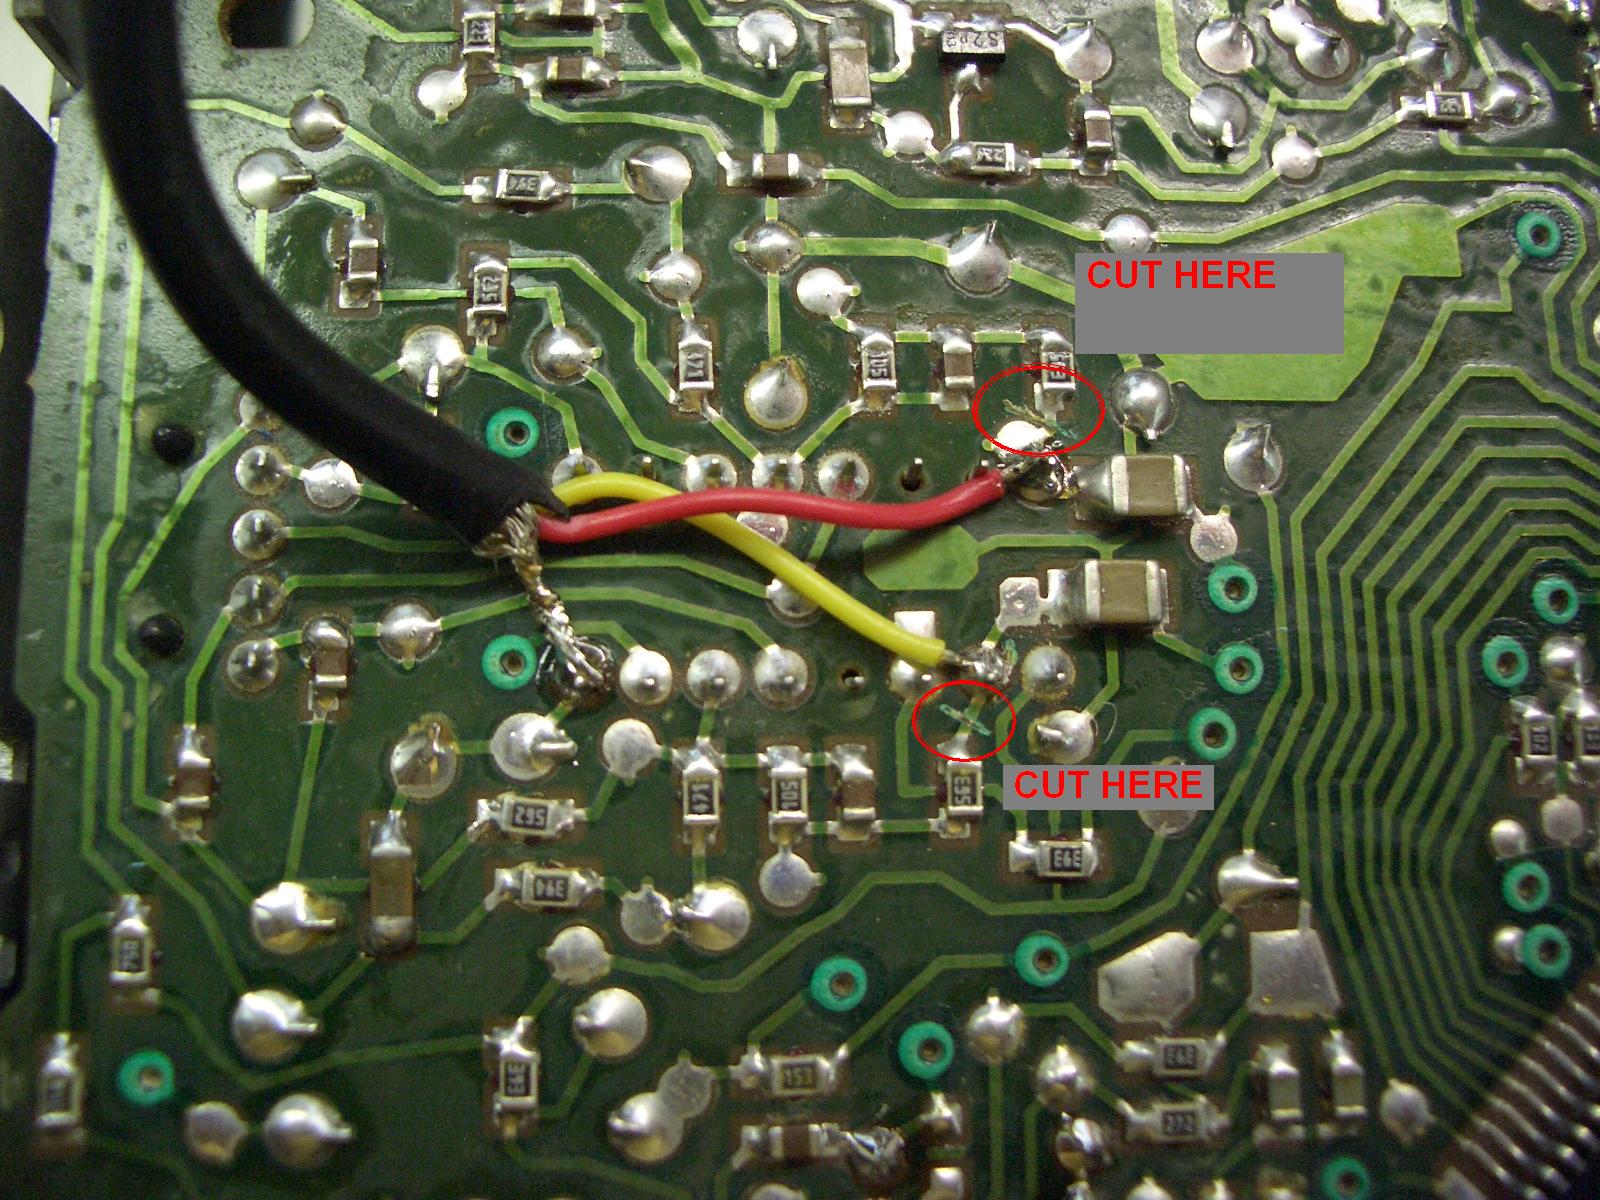
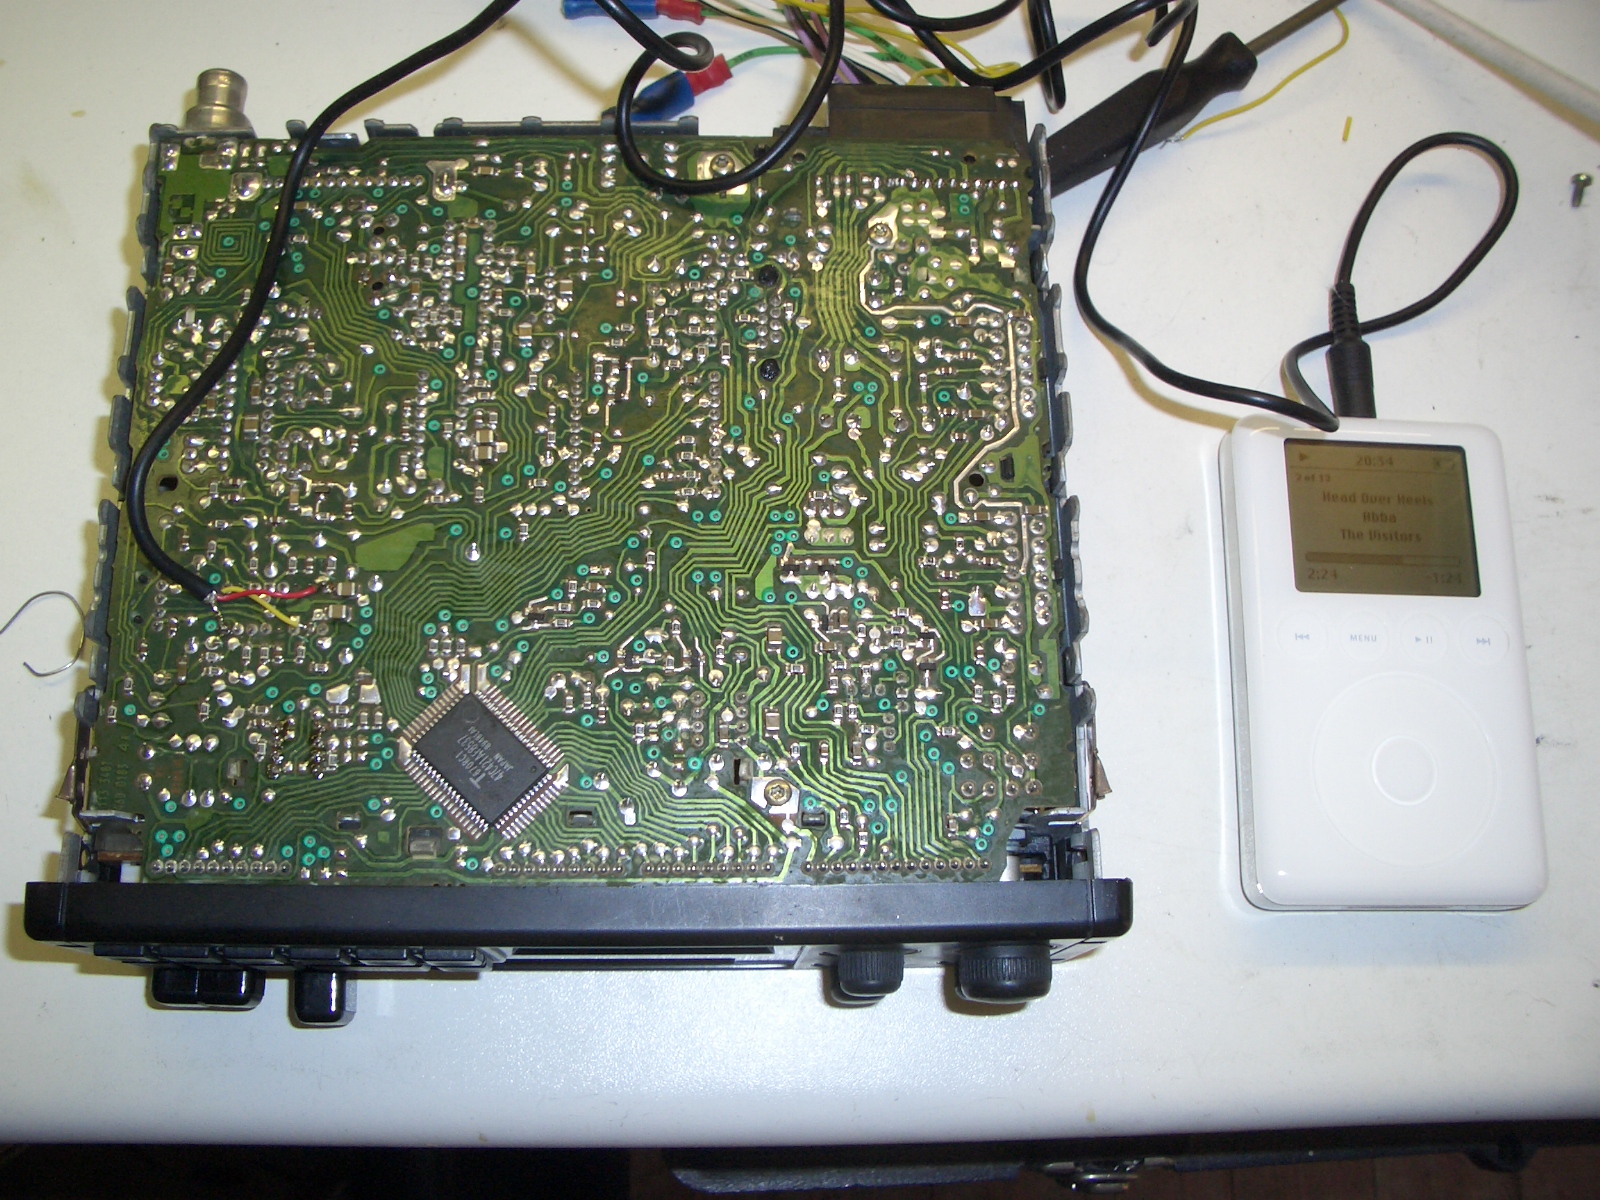
The cassette controller and preamplifier IC is located on the inside of the main printed circuit board, towards the front right hand corner. It is a Toshiba TA7784F and the data sheet specifies that pin 8 is ground (connect the screen here), pin 2 is one input and pin 16 is the other input. (connect your two cores to these).
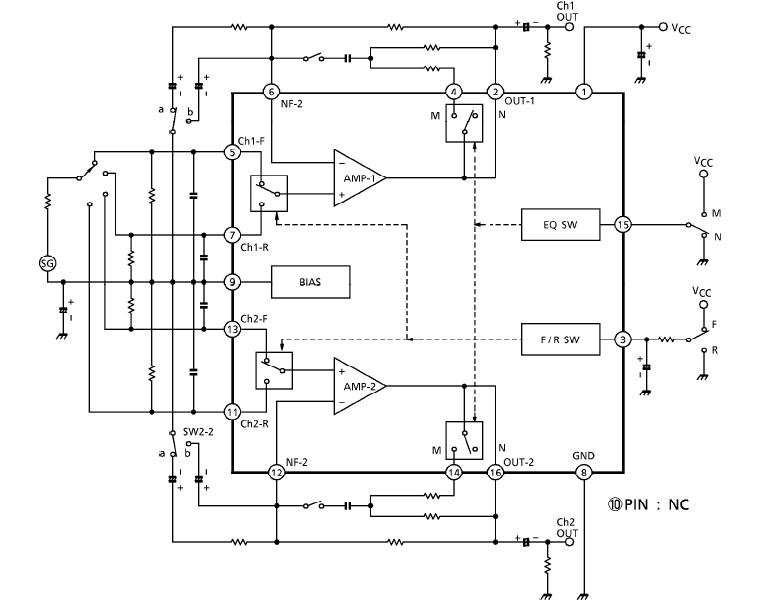
Looking at the schematic diagram for the standard application (Philips appear to have adopted this) there’s a pull-down resistor in each output circuit. At the test stage it was clear that this was causing distortion of my Ipod’s output, so I cut the track to each resistor and the sound output became clear.
Hopefully the photos will make sense…